> For the complete documentation index, see [llms.txt](https://knowledge.carbon.show/llms.txt). Markdown versions of documentation pages are available by appending `.md` to page URLs; this page is available as [Markdown](https://knowledge.carbon.show/carbon-for-unreal/settings-and-tips/computer-settings.md).
# Computer Settings
## Computer Settings
### Registry Settings
While we don't usually encourage making changes to your computer's registry, there is one setting that may improve stability with Unreal Engine. Since Unreal uses lots of GPU resources, there are times the computer will think the card has been "ejected" or "crashed".
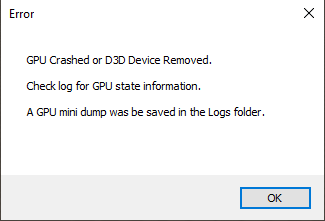
If a GPU crash is thrown, you will be met with the following error dialog:
To prevent this issue, please add the following registry entry using these steps:
1. **Open Registry Editor:**
* Press `Win + R`, type `regedit`, and press `Enter`.
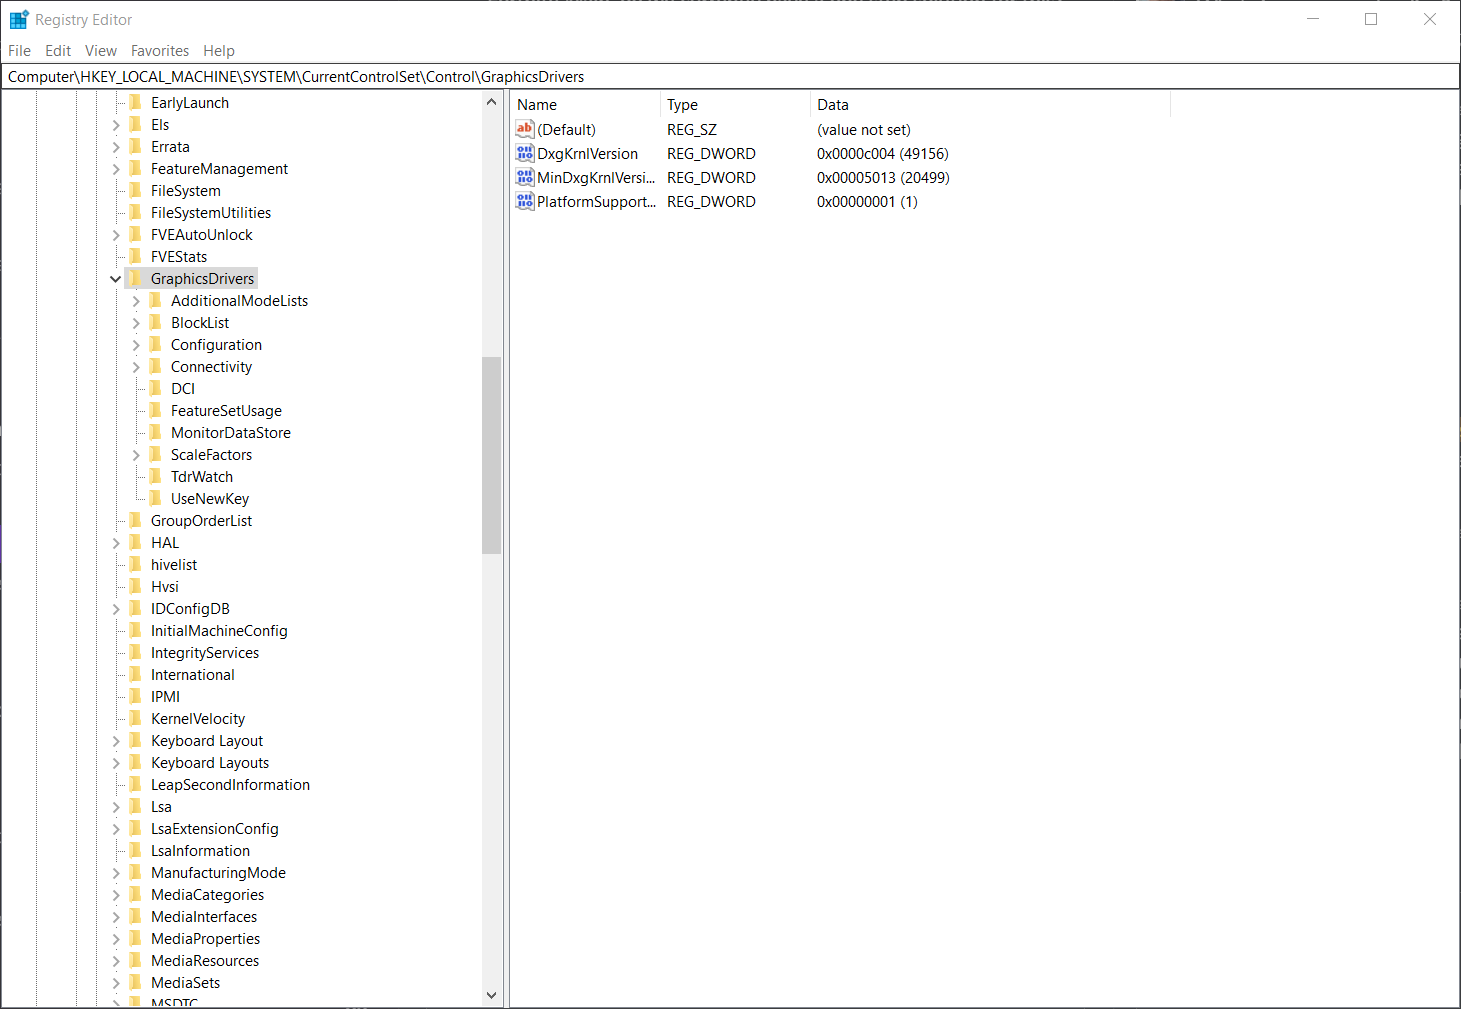
2. **Navigate to GraphicsDrivers:**
* Go to `Computer\HKEY_LOCAL_MACHINE\SYSTEM\CurrentControlSet\Control\GraphicsDrivers`.
3. **Add a New DWORD Value:**
* Right-click on the right pane, select `New` > `DWORD (32-bit) Value`.
4. **Name the Value:**
* Enter `TdrDelay` as the value name.
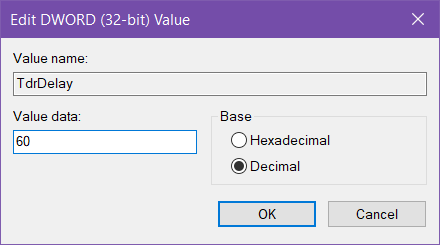
5. **Set the Value Data:**
* Double-click the new `TdrDelay` entry, enter `60` as the value data, ensure that Base is set to `Decimal`, and click `OK`.
6. **Close Registry Editor:**
* Exit the Registry Editor to save changes.
### Firewall Bypass
When working with Carbon for Unreal, you may be required to allow a specific internet adapter through the firewall.
#### Windows Defender Firewall
To make it easier to identify your network adapters during this process, you should rename them. Go to **Control Panel > Network and Sharing Center > Change Adapter Settings**, then right-click on the adapter and select "Rename."
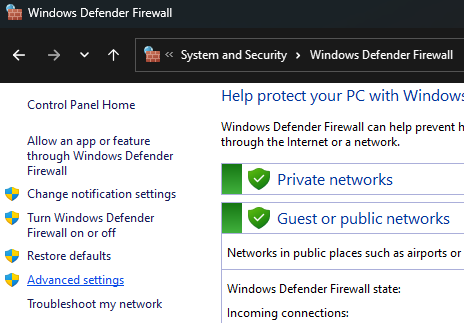
From the Windows Defender Firewall menu in the Control Panel, click **"Advanced Settings"** on the far left.
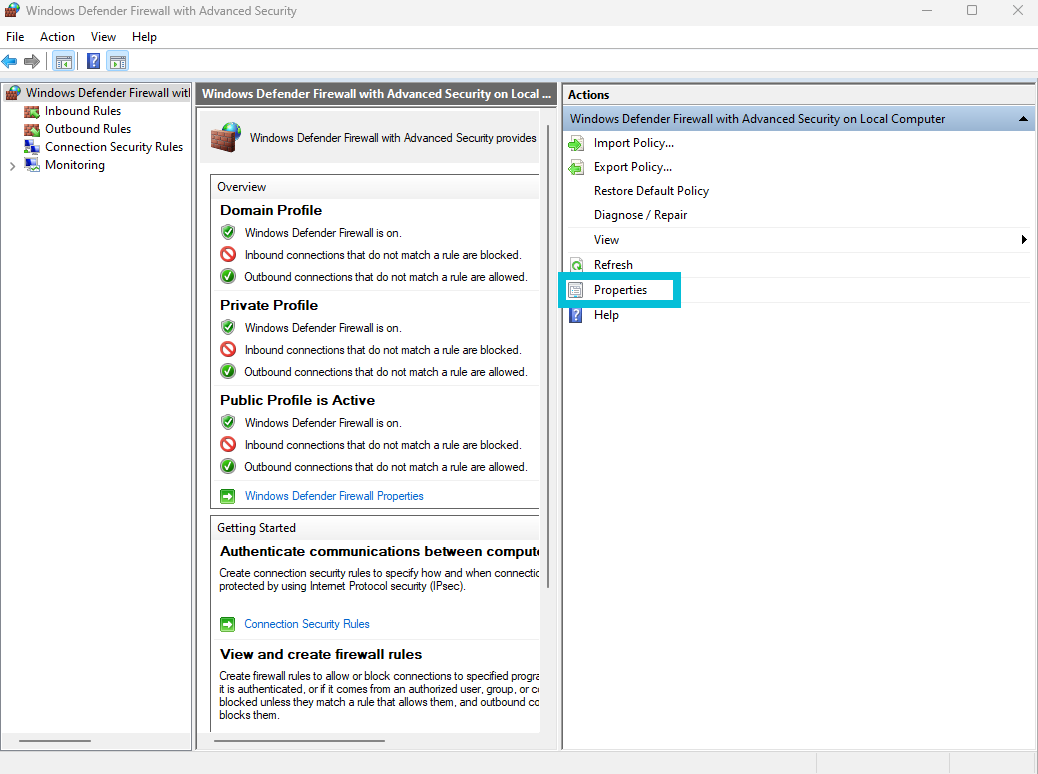
In the "Windows Defender Firewall with Advanced Security" window that opens, click **"Properties"** under the Actions panel on the right.
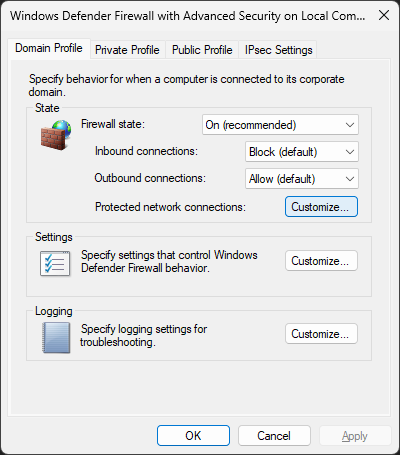
Under each of the three profiles (Domain Profile, Private Profile, and Public Profile) at the top, click the **"Customize"** button next to "Protected network connections."
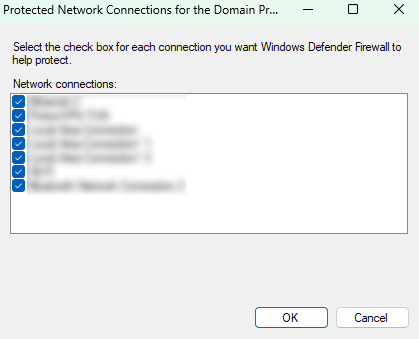
Finally, **disable the network adapter(s)** that you want to allow full access through the firewall.