> For the complete documentation index, see [llms.txt](https://knowledge.carbon.show/llms.txt). Markdown versions of documentation pages are available by appending `.md` to page URLs; this page is available as [Markdown](https://knowledge.carbon.show/carbon-for-unreal/using-and-modifying-assets/fixtures.md).
# Fixtures
## Introduction
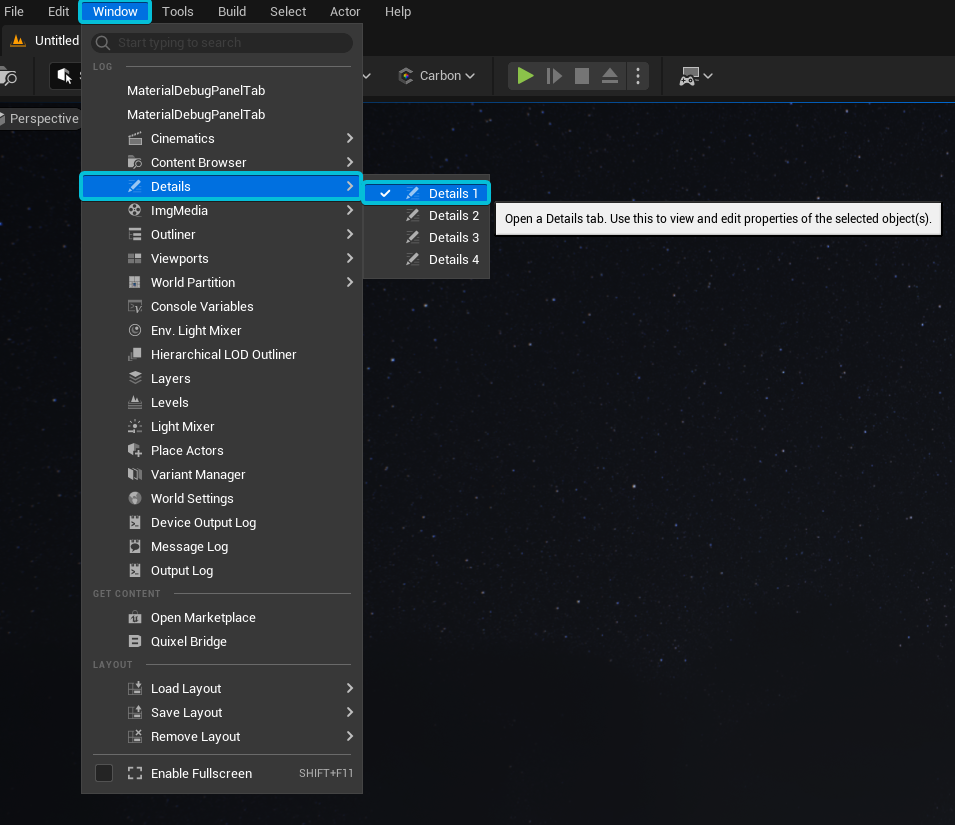
Each fixture has variables and options for maximum control. By selecting a fixture in the outliner or patch view, you can make changes to any fixture in Unreal Engines "Details Panel". If this is not already visible to you, you can enable the view by clicking Window - Details.
***
Once you have a fixture selected, you will see many sections that allow for manual control over Carbon assets.
{% hint style="info" %}
**Note**: Multiple fixtures can be selected by holding either `Ctrl` or `Shift` on your keyboard. However, modifications can only be applied per Fixture Type, meaning you can do batch editing for all selected fixtures of the same type simultaneously.
{% endhint %}
## Patch Data
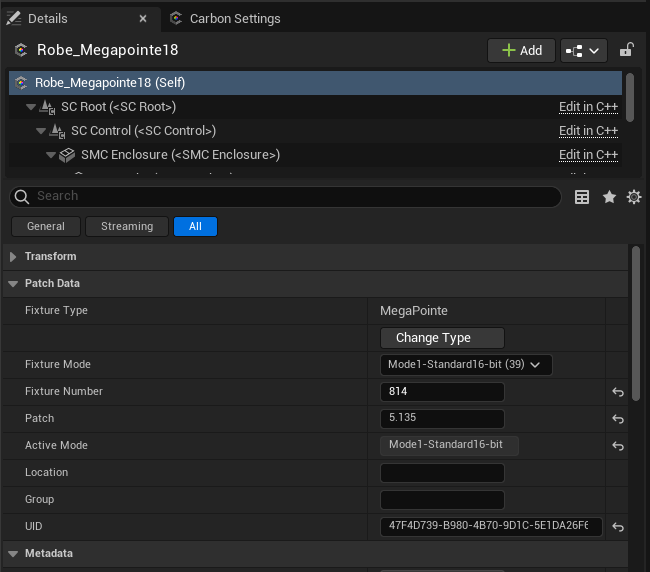
The first section of options pertains to the control mode and DMX patch for the fixture.
The fields labeled Fixture Number, Patch, Location, Group, and UID are automatically populated using the Import patch Dialog, or can be manually entered or overwritten here or in the patch view or by using the "autopatch" dialog.
### **Change Fixture Type**
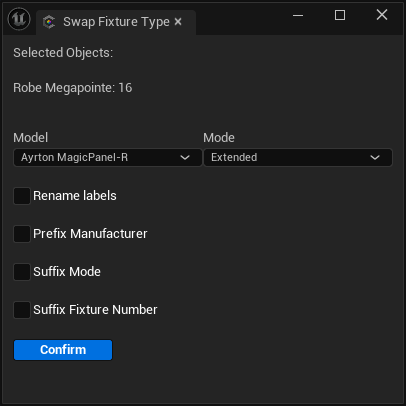
To swap a selected fixture's type, go to its detail panel and press the "Change Type" button under Patch Data. In the Swap Fixture Type tool, select your desired fixture model and mode.
### **Change Fixture Mode**
To change a fixture's mode, simply select a fixture, and choose your desired mode in the dropdown list located in the Patch Data section of the details panel.
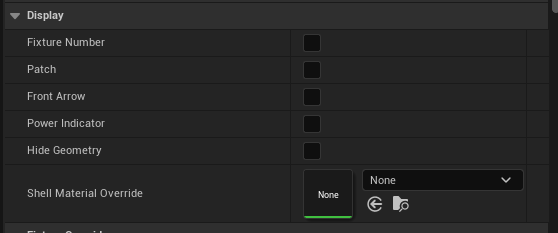
## Display
The Display section allows a user to modify how the fixture is displayed in the viewport.
| **Fixture Number** | Displays the fixture number in the scene. |
| --------------------------- | ---------------------------------------------- |
| **Patch** | Shows the fixture patch in the scene. |
| **Front Arrow** | Indicates the front direction with an arrow. |
| **Power Indicator** | Indicates the rear orientation of the fixture. |
| **Hide Geometry** | Hides the geometry of the fixture. |
| **Shell Material Override** | Allows overriding the fixture material. |
## Manual Control
{% hint style="warning" %}
Note: The manual control section allows both the aiming of a static fixture, and the control of the fixture's optics. Adjustment must be made outside of play mode.
{% endhint %}
## Accessories
Accessories can be manually added to fixtures to modify the fixture's output or functionality. Each accessory can be individually toggled and customized on a fixture group or individually.
{% hint style="warning" %}
**Note:** This section is only available for conventional fixtures
{% endhint %}
## Appearance
Optimize your Carbon projects on a fixture-by-fixture basis by customizing fixture rendering settings.
Every fixture type comes with default rendering settings designed to look great in your scene. However, sometimes you'll want to customize these to achieve optimal performance or reach a specific visual target for your scene.
***
These appearance settings are organized into three distinct sections: **Light**, **Beam**, and **Emissive**. Each section allows you to fine-tune a different aspect of how the fixture looks and interacts with its environment.
| **Light** | This controls the **light footprint** cast by the fixture as it strikes surfaces. |
| ------------ | ----------------------------------------------------------------------------------------------------------------------------- |
| **Beam** | This adjusts the **volumetric contribution** of the light, making its beam visible as it interacts with particles in the air. |
| **Emissive** | This manages the **glow** emanating from the fixture's light-emitting surface. |
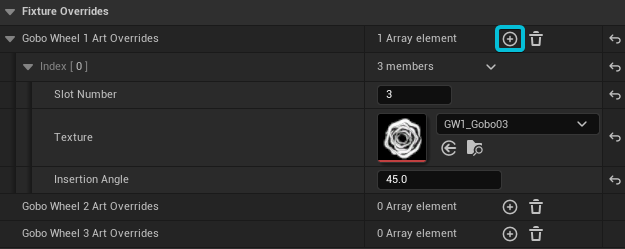
## Custom Gobos
For lights with gobo wheels, you can override any gobo on any wheel with a custom piece of artwork.
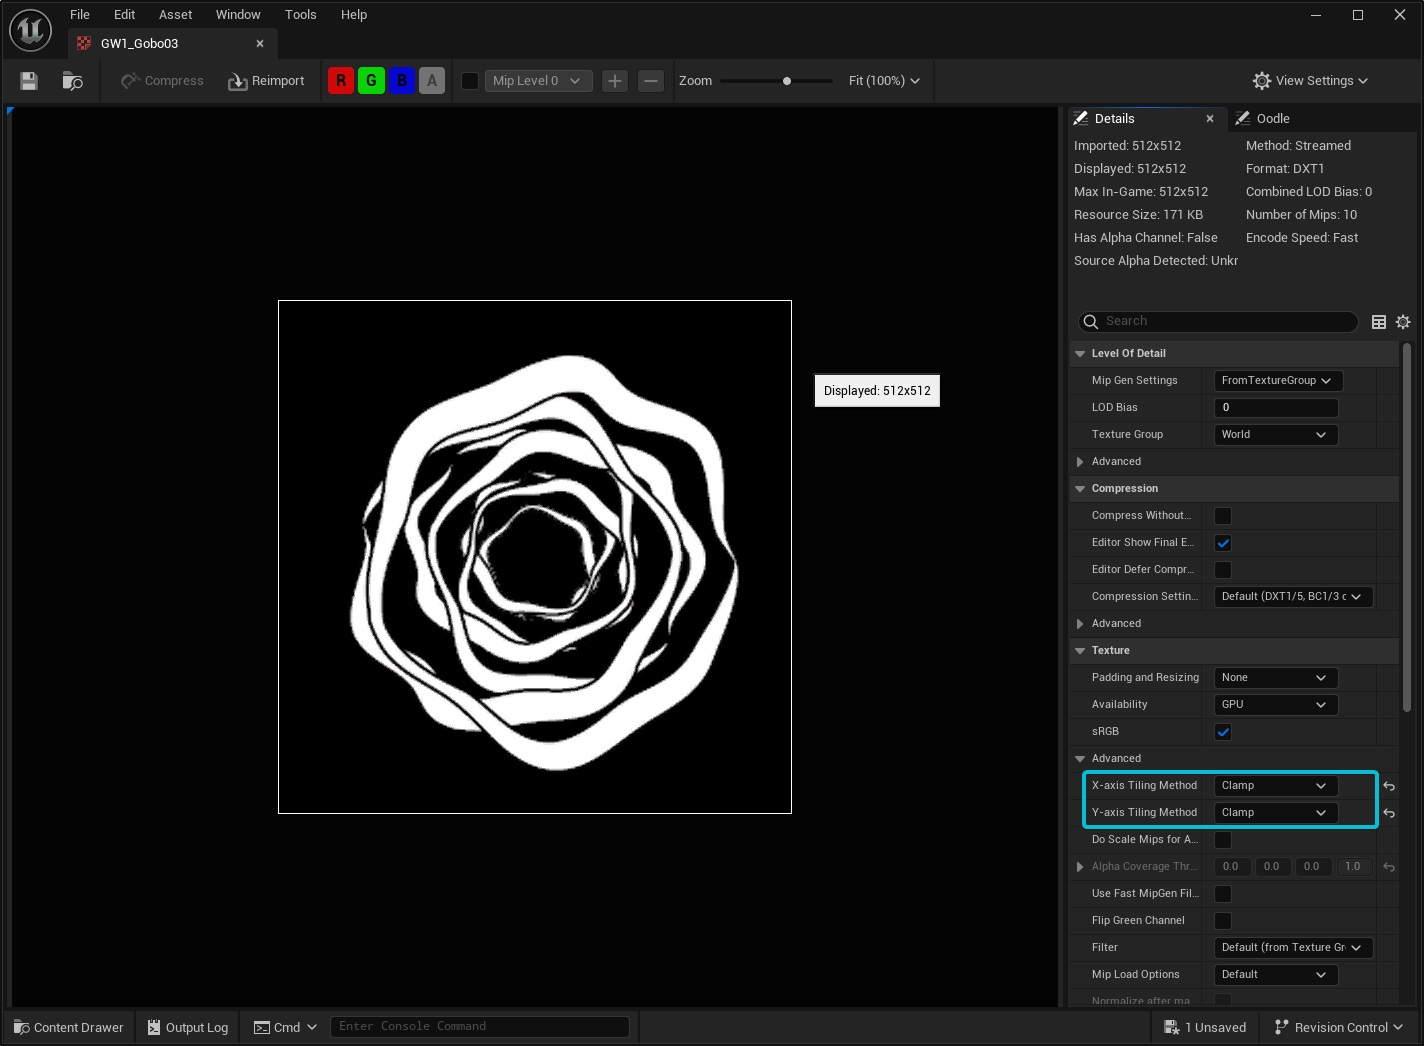
To load a custom gobo, click add array element on the desired wheel, and select the slot number to override. Drag a texture asset to the texture slot to override. This should be a black image with white or color image. There should also be at least 5 pixels from the artwork to the border, and the image should be **set to clamp**, rather than wrap or mirror.
You can also change the start insertion angle to calibrate the slot load.
{% hint style="warning" %}
*Ensure that the Image Texture has Tiling Methods set to **Clamp***
{% endhint %}